Using 1Password to Manage SSH Keys for GitHub Authentication and Commit Signing on WSL
Simplifying SSH Key Management with 1Password
If you’re like me, juggling multiple SSH keys for GitHub can be annoying, especially when it comes to securely managing them across devices. It can become an even bigger problem when you are using ephemeral development environments. 1Password recently released a feature that eliminates the headache with this problem – 1Password now makes it possible to store, use, and sign GitHub commits with SSH keys directly from your vault. This setup not only keeps your keys secure but also integrates them seamlessly into your Git workflow.
In this guide, I’ll walk you through setting up 1Password to store SSH keys, using them to authenticate GitHub, and configuring commit signing for added authenticity. I’ll be doing everything through WSL on Windows 11, but is available on Linux and Windows environments as well.
Prerequisites:
- An active 1Password subscription with the latest app version installed.
git>=2.34installed in WSL- GitHub account with SSH access enabled.
- 1Password Browser Extension
- 10–15 minutes of your time.
Step 1: Create an SSH Signing Key and an SSH Authentication Key on GitHub
To start, navigate to the settings section of your GitHub account. Select SSH and GPG keys in the left-hand menu. Lastly, click the New SSH key button in the top right.
From here, we are going to start letting 1Password make our lives a little bit easier. Click in the Title box, and 1Password should populate asking if you would like to create a new SSH key.
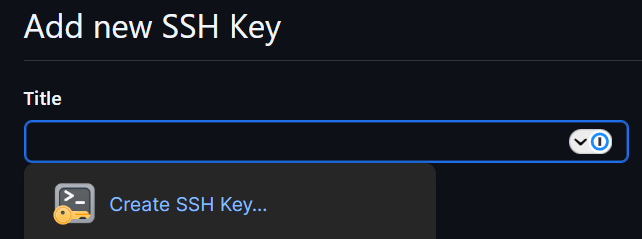
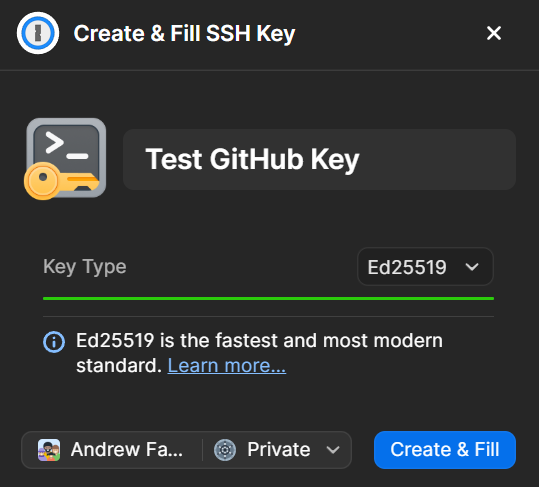
Click the Create SSH Key… button. Give it a name (the default is GitHub), choose the Key Type, and select which vault you would like to store the key in. Then press Create & Fill.
Before clicking the Add SSH key button on the bottom, you will want to change the key type from Authentication Key to Signing Key
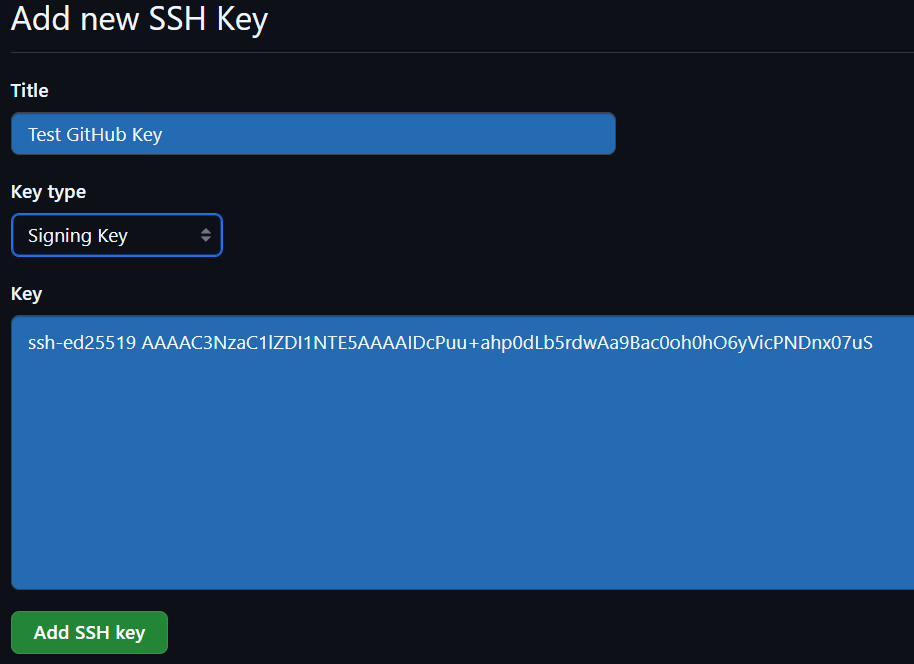
Remember, you also need an authentication key to push/pull with your repositories! You can add this same key as an authentication key, or create a separate key to be used for authentication. If you use the same key, you still have to add the key a second time, it will not automatically authenticate you.
Step 2: Enable the SSH Agent in 1Password Desktop App
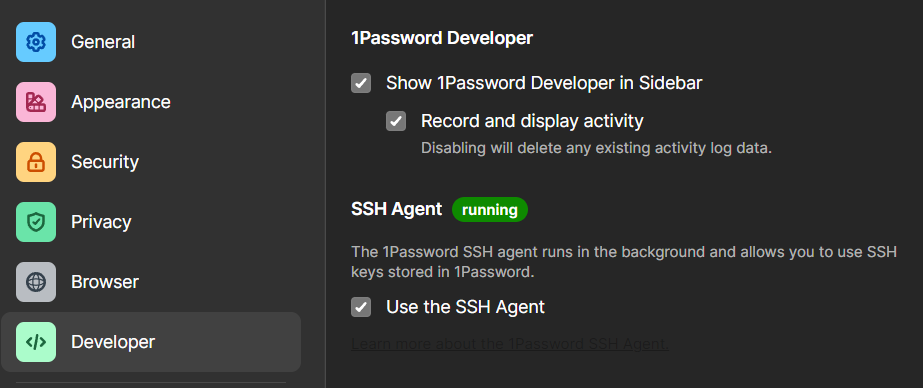
In order to actually be able to use this key to interact with our commits, we need to enable the 1Password SSH agent to run, so that WSL can interact with it.
Open 1Password, and navigate to the Settings menu, then the Deveoper menu. Under the SSH Agent section, just check the box next to Use the SSH Agent.
Step 3: Configure your 1Password SSH Key to be used for Git Signing.
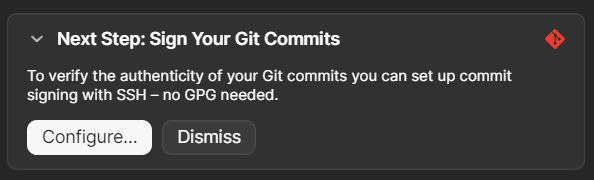
Go into 1Password and search for your GitHub key that you created in Step 1. There should be a message on the top of the SSH Key that says Next Step: Sign Your Git Commits, with a configure button below it. Click that to open the configuration.
Because we are using WSL and not Windows, we will check the Configure for Windows Subsystem for Linux (WSL) box, and then press the Copy Snippet button. Your text will look something like this:
1
2
3
4
5
6
7
8
9
10
11
[user]
  signingkey = ssh-ed25519 AAAAC3NzaC1lZDI1NTE5AAAAIDcPuu+ahp0dLb5rdwAa9Bac0oh0hO6yVicPNDnx07uS

[gpg]
  format = ssh

[gpg "ssh"]
  program = "/mnt/c/Users/techbeeb/AppData/Local/1Password/app/8/op-ssh-sign-wsl"

[commit]
  gpgsign = true
Open a shell in your WSL distribution, and then edit the ~/.gitconfig file. Add the text from 1Password into that file.
Step 4: Update your .bashrc file
So that WSL can interact with 1Password’s SSH agent, and to add a few conveniences, we are going to add some aliases and environment variables into our ~/.bashrc file.
1
2
3
4
#1password
alias ssh='ssh.exe'                             # Alias Windows ssh command
alias ssh-add='ssh-add.exe'                     # Alias Windows ssh-add command
export SSH_AUTH_SOCK=~/.1password/agent.sock    # Export env variable for 1password agent socket
Save the changes to your file and close the file.
In order for these changes to take effect in your current terminal, execute source ~/.bashrc in the terminal window. Otherwise, you can also open a new terminal session.
Step 5: Testing WSL/Windows Interoperability with SSH
Now that everything is set up, we need to verify that Windows and WSL are receiving the 1Password key from the 1Password agent.
In a cmd window, run the following command:
1
ssh-add.exe -l
The output should show your signing and authentication keys that you created earlier. It’ll look something like this:
1
2
256 SHA256:6L6nqOdTI0xpq8xurUOuSUIP6RHB8TvsjU+jBFyqVXo GitHub Signing Key (ED25519)
256 SHA256:lX2ZXBiPXmpVIu5q7zFdOgYfkYEPQqw/AOCXpsjs4y0 GitHub Authentication Key (ED25519)
Next, run the following in your WSL terminal:
1
ssh-add -l
The output should be the same, meaning that your alias in your bashrc file is set properly, and that the SSH agent is forwarding to WSL.
Lastly, you should be able to run an SSH request to GitHub via the WSL terminal, and verify that your key works.
1
ssh -T [email protected]
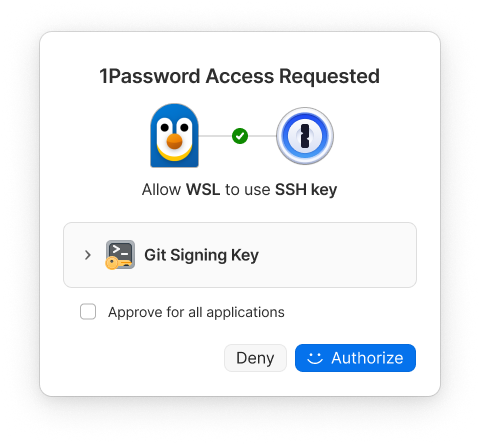
If it works, you’ll see a WSL authentication prompt pop up for 1Password!
The last thing to test now is actually pushing some code.
Change directories into one of your local git repositories and create a test commit. You can add a character to your README, or make a change to some other file. You have no issues committing your code, and pushing it.
When you view the commit, you should see that the commit is verified by you! And that’s how you know you’ve done it.
Any future SSH keys you add to 1password will be automatically added to the 1password ssh-agent, which hopefully should make things easier!